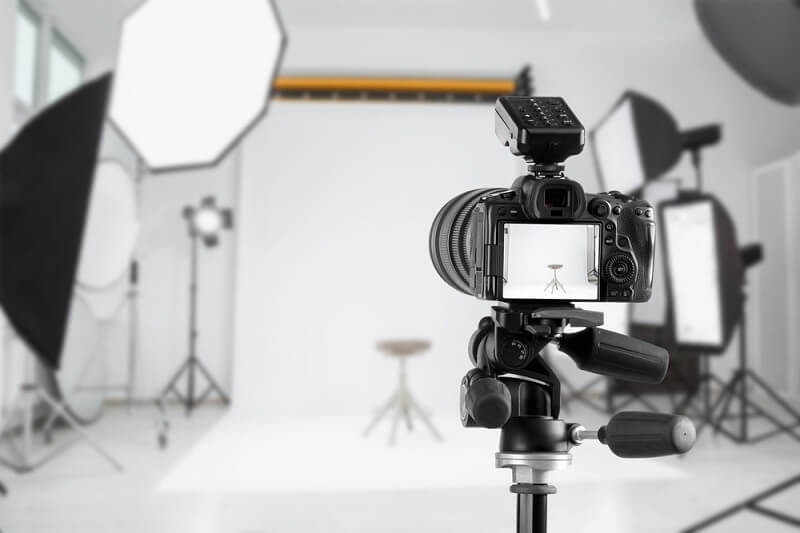
Photography is the kind of art where you can actually freeze time and transform creativity into images. But, for beginners, it might not be easy to understand the very basic concepts of photography. To get excellent photographs, the knowledge of photography basics is an absolute necessity. Photography revolves around the exposure triangle, which consists of ISO, shutter speed, and aperture. These three together work to form the ultimate decision concerning how much light will come into your camera and hence influence the final results. Whether you are using a DSLR, a mirrorless camera, or even a phone, manipulating these camera settings can be magical for your photography learning curve.
In this complete guide, we will deconstruct ISO, shutter speed, and aperture, discuss their functions in photography, and give tips on how beginners can master exposure control in practice.
The Exposure Triangle is the base of photography, and it consists of three main settings:
These three components together make for a well-balanced exposure, and their interrelationship will enable you to control all of your photography. As soon as this balance is perfected, there will be no reason to worry about lighting conditions either. Balancing these three settings will contribute to reaching the desired exposure in different lighting conditions. Let's explain in detail all these aspects.
Similar Read: Top 5 Lightroom Tools 2025: Game-Changing Features Revealed

ISO refers to the camera sensor's light sensitivity. A low ISO setting (e.g., ISO 100) reduces the sensor's sensitivity, which produces higher image quality with low noise. Higher ISO (e.g., ISO 3200 and higher) boosts sensitivity, which is convenient when available light is poor but can add digital noise or graininess.
Under sunny outdoor conditions, one should employ a low ISO of around ISO 100-400 to take clear and noiseless pictures. If photography is to be done under indoor conditions or with artificial lighting, raising the ISO to around ISO 800-1600 is useful for gaining proper exposure without depending so heavily on low shutter speeds. For very low-light situations such as nighttime photography or concerts, employing ISO 3200 and above enables more light to enter the camera, but it produces more noise as well, which can be mitigated later in post-processing. Always try to use the lowest possible ISO but still expose the image sufficiently.
Shutter speed is the amount of time the sensor of the camera is open to light. It is recorded in fractions of a second, e.g., 1/500s, 1/250s, 1/60s, etc.
The use of a high shutter speed (1/1000s and above) is best suited for taking rapidly moving subjects like wildlife or sports without causing motion blur. Everyday photography, such as landscapes and portraits, can benefit from a medium shutter speed of (1/250s - 1/500s) to have sharp, well-exposed images. Photographers can deliberately create artistic motion blur effects while shooting at slow shutter speeds (1/30s or lower) by capturing the flowing water of a waterfall or light trails in nighttime photography. Use a tripod for low shutter speeds to avoid camera shake.
Aperture is the opening size of the lens that lets light into the camera. It is expressed in terms of f-stops, for example, f/1.8, f/4, f/11, etc.
A large aperture (f/1.4 - f/2.8) admits more light and produces a shallow depth of field, ideal for portraits where the subject is in clear focus and the background is beautifully out of focus. A medium aperture (f/5.6 - f/8) is a general-purpose setting and offers a balanced exposure, so it is suitable for regular photography with average background separation. Using a narrow aperture (f/11 - f/22) results in a deep depth of field, ensuring that both the foreground and background remain sharp, which is particularly useful for landscape photography. A wider aperture is great for low-light conditions, whereas a narrow aperture is best when a greater depth of field is needed.
Suggested Read: Best Photo Editing Apps & Tips for Mobile Quick Image Edits
Camera settings need to be mastered by getting the ideal combination of ISO, shutter speed, and aperture to get the proper exposure. For bright lighting, maintaining low ISO, a fast shutter speed, and compensation through aperture will avoid overexposure. For low-light environments, a higher ISO and opening up the aperture keeps it bright without requiring a very slow shutter speed. In capturing moving objects, having a higher shutter speed is paramount, even at the expense of a higher ISO. For landscapes, using a small aperture and a tripod guarantees sharpness all over the image. With this knowledge of how these three settings interact, photographers can respond rapidly to various lighting situations and creative demands.
Mastering shutter speed and aperture is imperative, but seeing how light dances on your subject is what gives photography an artistic touch. The light of nature changes during the day, where golden hour, just after sunrise or before sunset, creates warm, smooth light, but daylight around midday can make it harsh, resulting in acute shadows. Artistic lighting can be achieved during low-light through artificial sources of softboxes and LED panels, balancing the exposure. Figuring out how to place your subject in relationship to the light source improves depth, texture, and overall picture quality. Through a combination of proper lighting and the Exposure Triangle, you can take well-exposed, visually compelling photos.
Read you may like: Beginner's Guide to Lightroom: Editing Tips for Great Photos
One's skills in photography may be advanced and given creative control over images by mastering ISO, shutter speed, and aperture. The Exposure Triangle will then help in informing wise decisions about camera settings to achieve well-exposed photographs that are clear and artistically beautiful. One might think it is tough, but after consistent practice and experimentation, this fades into second nature. Whether it is scenic shots, portraits, or fast-moving action, balancing ISO, shutter speed, and aperture will change everything about the way you shoot and the confidence with which you can express your artistic vision. Experiment today; watch yourself take off.
This content was created by AI